So you’ve taken up the art of fly tying, crafting delicate and intricate flies that will entice even the wiliest of fish. But, you’ve found yourself struggling with the final step – how to finish tying the fly. Don’t worry, in this article, we’ll guide you through the process, step by step, ensuring that your flies are not only beautifully crafted but also securely tied. With our handy tips and tricks, you’ll be able to confidently finish tying your flies, ready to hit the water and reel in your biggest catch yet!

Choose the Right Finish
When it comes to finishing a fly, there are several options to consider. Each finish serves a different purpose and is suitable for different materials. Some common types of finishes include head cement, UV cure resin, and epoxy. Head cement is a classic choice that provides a durable and glossy finish. UV cure resin is a popular option that hardens when exposed to UV light, offering both strength and quick drying time. Epoxy is perfect for creating a shiny and protective coating on streamers and saltwater flies. Consider the purpose of your fly and the type of material you are working with to determine which finish will be the best fit.
Prepare Your Workspace
Before diving into the finishing process, it’s essential to prepare your workspace properly. Start by cleaning and organizing your work area. Remove any clutter and ensure that you have enough space to work comfortably. Gather all the necessary tools and materials you will need, such as thread, hackle, body materials, and scissors. Having everything readily available will streamline the process and prevent interruptions during the finishing stage. Lastly, ensure that you have good lighting. Proper lighting will help you see the details clearly and ensure that your finishing work is accurate.
Finish the Thread Wraps
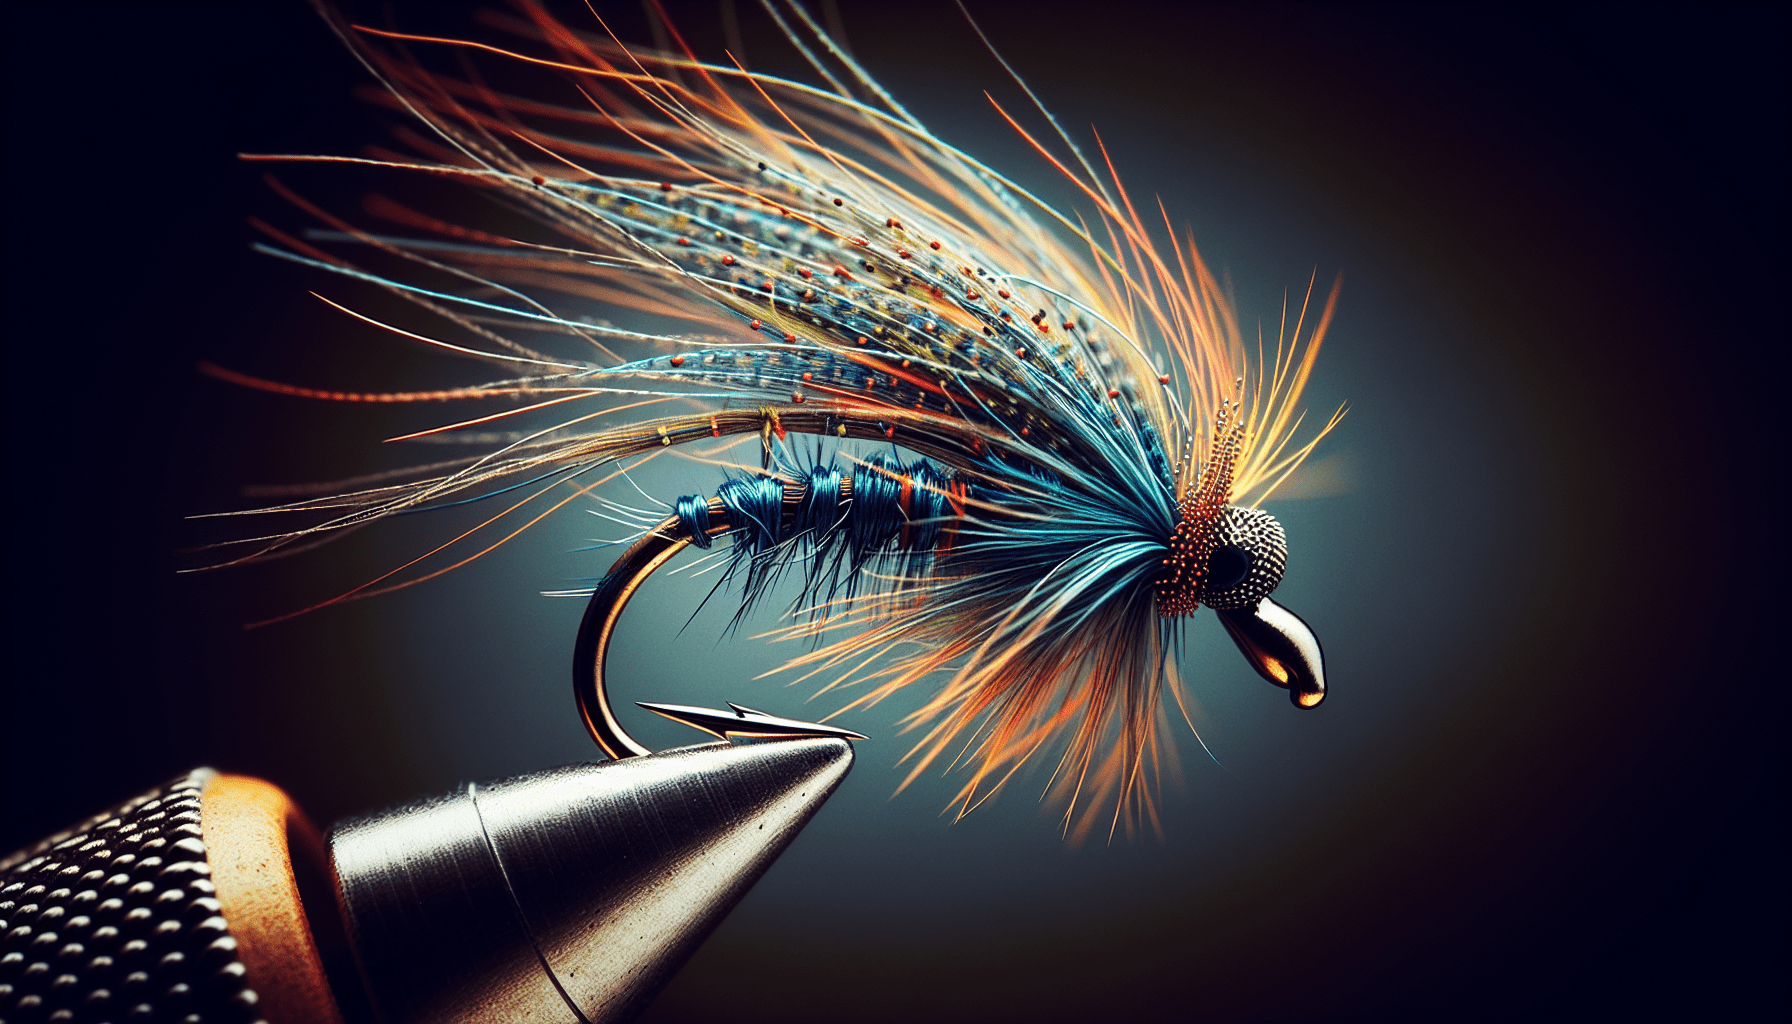
Finishing the thread wraps is a crucial step in fly tying. Inspect the thread wraps to ensure they are uniform and secure. Gently run your fingers along the wraps to feel for any irregularities or loose spots. If you notice any, carefully apply pressure to tighten them up. Once you are satisfied with the thread wraps’ appearance and security, it’s time to trim any excess thread. Using sharp scissors, cut the thread as close to the wraps as possible without damaging them. To give the fly added durability and a polished look, apply head cement or another finishing product. Distribute the product evenly along the thread wraps, making sure to cover any exposed thread. Allow the finish to dry completely before proceeding to the next step.
Securing the Hackles
Hackles play a vital role in fly tying, providing lifelike movement and imitating the natural appearance of insects. Once you have positioned the hackle in the desired location, wrap thread around the base of the hackle to secure it. Use a gentle but firm grip to prevent the hackle from shifting during this process. Once the thread is wrapped around the base of the hackle, it’s time to secure the finish. You can achieve this by using a half-hitch or whip finish. A half-hitch involves creating a loop with the thread and pulling it through to form a knot. A whip finish, on the other hand, requires a specialized tool called a whip finisher. Whichever method you choose, make sure the finish is tight and secure. To further enhance the durability of the hackle finish, apply a small amount of cement around the thread wraps.

Attaching the Body Materials
The body materials of a fly contribute to its overall appearance and effectiveness. To attach the body materials securely, carefully tie them in using the thread wraps. Start by placing the materials where you want them to be and hold them in place with your non-dominant hand. Then, bring the thread wraps neatly around the materials, making sure not to trap any fibers or distort their natural position. Use a moderate amount of tension to create a secure hold without damaging the materials. As you wrap the thread, ensure that it is distributed evenly, providing a smooth and consistent body shape. When you reach the desired length or coverage for the body materials, finish with a half-hitch or whip finish to secure the thread wraps. Apply cement to the wraps to reinforce the finish and prevent any slippage.
Finishing Techniques for Different Flies
Different types of flies require tailored finishing techniques to achieve the desired results. Let’s explore some finishing techniques for popular fly categories:
Dry flies:
For dry flies, you want a lightweight finish that won’t sink the fly. Head cement is an excellent choice as it adds durability without adding excessive weight. Apply a thin layer of head cement to the thread wraps, focusing on the hackle and wing areas. This will help maintain the fly’s buoyancy while providing a protective coating.
Wet flies:
Wet flies require a finish that can withstand water exposure. Using UV cure resin is a great option for wet flies as it provides a durable and waterproof finish. Apply the resin to the thread wraps, making sure to cover the entire body and any exposed materials. Cure the resin using a UV light, following the manufacturer’s instructions.
Nymphs:
Nymphs require a more realistic appearance, often imitating insect larvae or pupae. To achieve a natural look, consider using epoxy as a finishing material. Epoxy creates a hard and shiny coating that mimics the translucent body of nymphs. Apply the epoxy carefully to avoid smearing or excessive buildup, ensuring that it covers the body evenly.
Streamers:
Streamers are typically larger flies used to imitate baitfish or larger aquatic organisms. These flies benefit from a strong and glossy finish that can withstand aggressive fish strikes. Epoxy is an excellent choice for streamers as it provides the necessary durability and shine. Apply the epoxy evenly, focusing on the head and body sections, to create a robust and eye-catching finish.
Saltwater flies:
Saltwater flies are designed to withstand the corrosive effects of saltwater and the aggressive behavior of saltwater fish. For this reason, a durable and waterproof finish is essential. UV cure resin is an ideal choice for saltwater flies as it offers both strength and quick drying time. Apply the resin to the thread wraps and exposed materials, ensuring that the finish is comprehensive and solid.
Remember, these finishing techniques are general guidelines. Feel free to experiment and adapt them to suit your specific fly patterns and preferences.
Trimming and Shaping
After completing the finishing touches, it’s time to trim and shape the fly. Use sharp scissors specifically designed for fly tying to achieve precise cuts. Start by trimming any excess materials that may hinder the fly’s appearance or performance. Take care not to accidentally cut any critical components, such as tails or wings. As you trim, shape the fly to the desired profile, ensuring that it looks balanced and proportional. This step plays a crucial role in enhancing the fly’s realism and effectiveness in the water.
Final Inspection
Before considering your fly complete, it’s crucial to perform a final inspection. Carefully check for any loose or unraveled materials that may compromise the fly’s durability or appearance. Inspect the proportions and symmetry of the fly, making any necessary adjustments to ensure it looks its best. Look at the fly from different angles and under different lighting conditions to get a comprehensive view. A thorough final inspection ensures that your fly is ready for action and increases your chances of attracting fish.
Applying a Finishing Knot
To secure the fly and prevent any unraveling, it’s essential to apply a finishing knot. Two commonly used knots for fly tying are the half-hitch and whip finish. The half-hitch involves creating a loop with the thread and passing it through to form a knot. Repeat this process two or three times to ensure a secure finish. The whip finish requires a whip finisher tool, which helps create tight and uniform knots. Insert the thread into the tool, wrap it around the fly’s shank, and then slide the tool’s head through the loop. Pull tightly to complete the knot. Whichever knot you choose, make sure it is tight and secure. Once the knot is secure, trim any excess thread, leaving a neat and clean finish.
Cleaning and Storing Tools
As you near the completion of your fly tying session, it’s essential to clean and store your tools properly. After each use, clean your tools to remove any residue or debris that may affect their functionality. Use a soft cloth or brush to gently wipe down the tools, paying attention to areas that accumulate dirt or adhesive. Additionally, ensure that all tools are thoroughly dry before storing them to prevent rust or corrosion. Properly organize your tools in a designated fly tying kit or toolbox, keeping them protected and easily accessible for future use. By maintaining your tools, you ensure they will be in optimal condition the next time you sit down to tie flies.
In conclusion, finishing a fly is an essential step in fly tying that adds durability, realism, and appeal to your creations. By choosing the right finish, preparing your workspace, and following proper finishing techniques, you can create flies that are not only beautiful but also effective in catching fish. Remember to take your time, pay attention to detail, and enjoy the process. With practice and experimentation, you’ll develop your own unique finishing style and create flies that are sure to impress both yourself and fellow anglers. Happy tying!