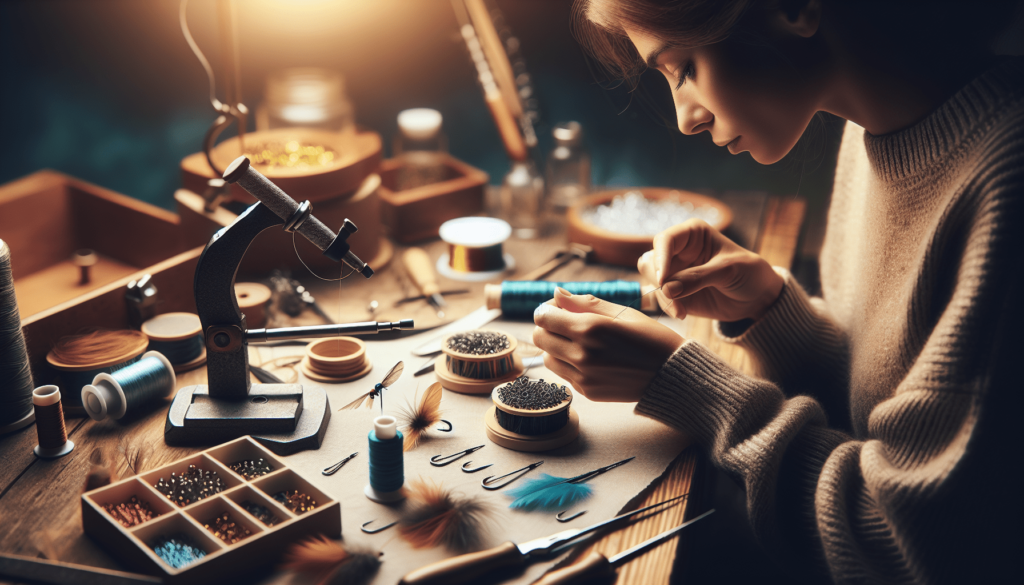
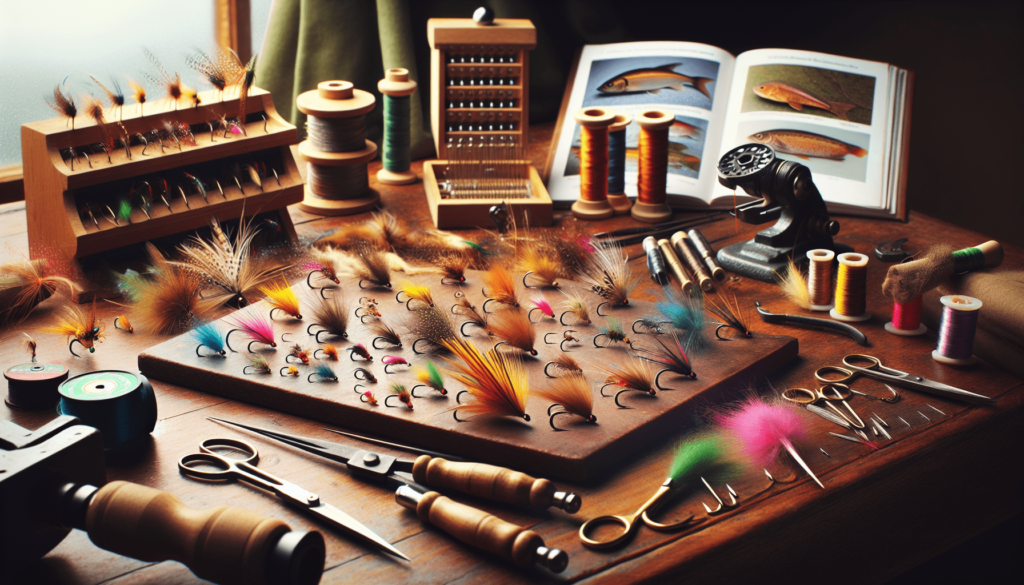
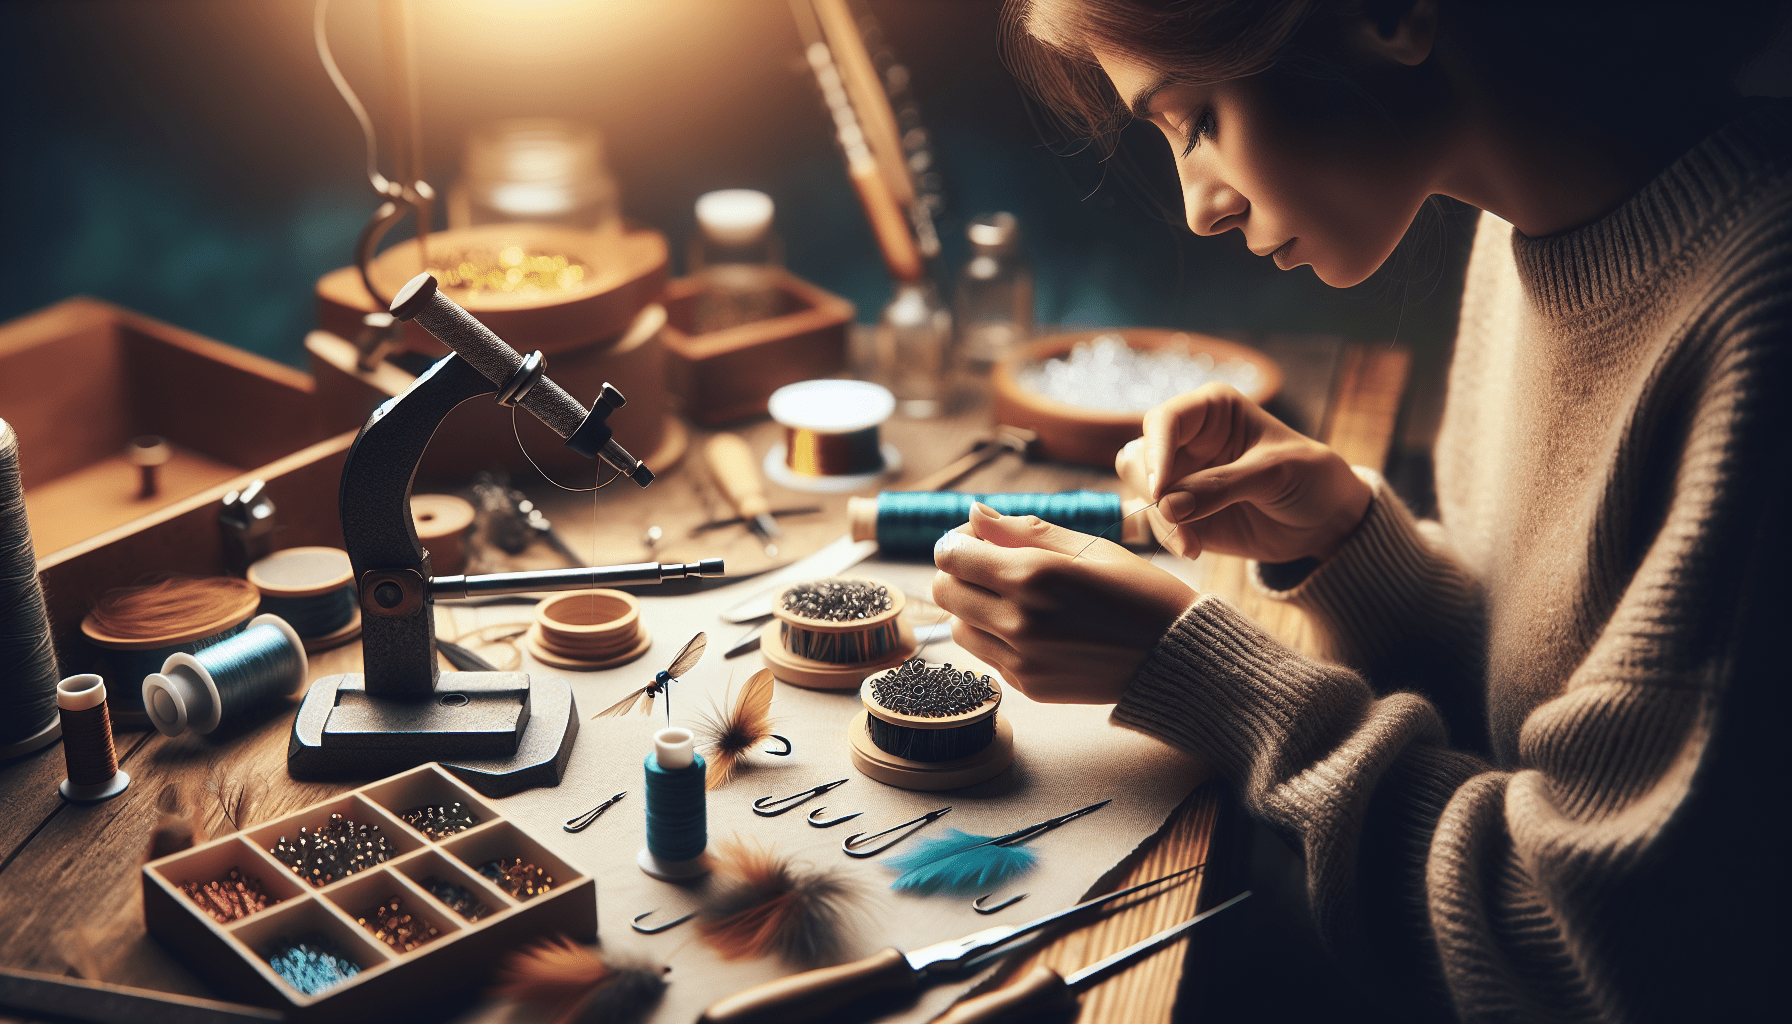
Are you interested in the art of fly fishing and eager to create your own customized fishing flies? Look no further! This article will provide you with simple yet effective tips on how to start fly tying. Whether you are a complete beginner or have some experience in the field, we have got you covered. By following these easy steps, you will be well on your way to crafting beautiful and effective flies that will enhance your fly fishing experience. So, grab your materials and let’s get started on this exciting journey!

Gather Essential Tools and Materials
To begin your fly tying journey, it is important to gather all the necessary tools and materials. Here are some essential items you will need:
Vise
A fly tying vise is a crucial tool that holds your hook securely while you work on tying the fly. Look for a vise that offers good grip, adjustability, and stability.
Bobbin
A bobbin is used to hold and control the thread while you tie the fly. Look for a bobbin that is comfortable to hold and has a smooth thread tension control.
Scissors
High-quality scissors are essential for precise trimming and cutting of various materials. Choose a pair with a sharp and fine point for intricate work.
Hackle Pliers
Hackle pliers are used to manipulate feathers and other materials. Look for pliers with a comfortable grip and fine jaws for delicate handling.
Thread
Thread is used to secure materials to the hook and create various wraps. Choose a strong and durable thread that matches the color of your fly.
Hooks
Hooks come in various sizes and styles, depending on the type of fly you want to tie. It is important to have a variety of sizes to accommodate different patterns and target species.
Dubbing Material
Dubbing material is used to create the body of the fly. It can be made of various materials like fur, synthetic fibers, or natural dubbing. Explore different colors and textures to create various patterns.
Feathers
Feathers are an important component of many fly patterns. They can be used for wings, tails, or legs, and come in a wide range of sizes, shapes, and colors. Choose feathers based on the specific patterns you want to tie.
Beads and Eyes
Beads and eyes add weight and realism to your flies. They come in various sizes and colors and can be used for creating nymphs and streamers. Experiment with different bead and eye combinations to achieve different effects.
Cement or Glue
Cement or glue is used to secure knots and add durability to the finished fly. Look for a high-quality adhesive that dries quickly and forms a strong bond.
Learn the Basic Techniques
Now that you have your tools and materials ready, it’s time to learn the basic techniques of fly tying. These techniques form the foundation of your tying skills and will help you create a wide range of fly patterns. Here are some essential techniques to master:
Understanding Different Types of Flies
Start by familiarizing yourself with the different types of flies, such as dry flies, nymphs, and streamers. Each type serves a specific purpose and imitates different stages of aquatic insects or baitfish.
Mastering Thread Control
Thread control is crucial for creating neat and secure wraps. Practice maintaining consistent tension and learn how to manage the thread effectively while tying different parts of the fly.
Learning to Tie a Whip Finish Knot
The whip finish knot is used to secure the thread at the end of the tying process. Mastering this knot is important to ensure that your fly stays intact during fishing. Practice tying the whip finish knot until you can do it confidently.
Practicing Proper Tension
Proper tension is essential for creating neat and secure wraps. Practice applying the right amount of tension to prevent loose materials and ensure durability.
Applying Dubbing to Hooks
Learn how to apply dubbing smoothly and evenly to create realistic bodies on your flies. Experiment with different techniques and materials to achieve various effects.
Creating Thread Wraps
Thread wraps provide stability and secure the materials to the hook. Practice creating even and tight wraps to ensure that your fly remains durable and well-constructed.
Tying a Basic Dry Fly Pattern
Start with a basic dry fly pattern, such as an Adams or a Elk Hair Caddis, to practice the fundamental techniques. This will help you understand the process of building a fly and how different materials come together.
Using Hackle Feathers for Wings and Legs
Hackle feathers are often used for creating wings, legs, and collars on flies. Learn how to properly select and apply hackle feathers to achieve the desired effect. Experiment with different feather sizes and colors to add variety to your patterns.
Adding Bead and Eye Details
Explore the use of beads and eyes to add weight and lifelike features to your flies. Practice incorporating beads and eyes into your patterns in various ways to create different presentations.
Choose the Right Fly Patterns
Choosing the right fly patterns is crucial for successful fly tying and fishing. Here are some factors to consider when selecting patterns:
Researching Common Fly Patterns
Take the time to research and familiarize yourself with common fly patterns. Study their shapes, sizes, and materials used. Look for patterns that have proven effective for the type of fishing you plan to do.
Identifying Patterns Suitable for Your Fishing Area
Consider the specific characteristics of your fishing area, such as the type of water, prevalent insect species, and target fish. Choose patterns that closely imitate the insects or baitfish found in your local waters.
Considering the Target Species
Different fish species have different feeding habits and preferences. Choose patterns that closely resemble the natural prey of your target species. Matching the hatch is often crucial for success.
Starting with Simple Patterns
When starting out, it’s best to begin with simple patterns that require fewer materials and techniques. This will allow you to focus on mastering the basics before moving on to more complex patterns.
Expanding to More Complex Patterns
As you gain experience and confidence, gradually expand your repertoire to include more complex patterns. Challenge yourself with intricate designs and advanced techniques to continuously improve your skills.
Follow Step-by-Step Tutorials
Step-by-step tutorials are excellent resources for beginners to learn and practice fly tying techniques. Here are some tips for using tutorials effectively:
Finding Reliable Tutorial Resources
Look for reputable tutorial resources, such as books, online platforms, or instructional DVDs. Choose tutorials created by experienced and knowledgeable fly tiers who provide clear and detailed instructions.
Watching Instructional Videos
Video tutorials can be particularly helpful in demonstrating specific tying techniques. Follow along with the video, pausing and rewinding as needed, to ensure that you understand each step before proceeding.
Following Written Instructions
Written tutorials provide detailed step-by-step instructions accompanied by illustrative images or diagrams. Read through the instructions carefully and refer to the visuals to ensure accuracy.
Practicing Each Step Multiple Times
Repetition is key to mastering fly tying techniques. Practice each step of the tutorial multiple times until you can execute it confidently and smoothly. Take your time and focus on quality rather than speed.
Seeking Guidance from Experienced Fly Tiers
If you have questions or encounter difficulties while following tutorials, don’t hesitate to seek guidance from experienced fly tiers. Join online forums or attend local fly tying classes or workshops to connect with knowledgeable individuals who can offer valuable advice and support.

Develop Custom Patterns
Once you have mastered the basics and gained confidence in tying various patterns, you can start developing your own custom flies. Here are some tips to help you create unique patterns:
Experimenting with Materials and Colors
Don’t be afraid to experiment with different materials and colors. Explore unconventional options and combinations to create flies that stand out and trigger the interest of fish.
Combining Features from Different Patterns
Take inspiration from existing patterns and combine different features to create a hybrid fly. For example, you can combine the body of one pattern with the wings of another to create something entirely new.
Adding Personal Touches and Variations
Make each fly your own by adding personal touches and variations. You can alter the proportions, modify the color scheme, or incorporate unique details that reflect your creativity and style.
Testing and Refining Custom Flies
Once you have developed a custom fly, take it to the water and test its effectiveness. Pay attention to how fish respond and make note of any improvements or adjustments that can be made. Refine your patterns based on these observations.
Sharing Your Creations with the Fly Tying Community
Fly tying is a vibrant and social community. Share your custom patterns with fellow fly tiers through online platforms, forums, or local gatherings. Embrace feedback and engage in discussions to further enhance your skills and knowledge.
Understand Fly Anatomy
Understanding the various parts of a fly and their functions is crucial for tying effective patterns. Here are some key aspects to learn:
Learning about Hook Sizes and Styles
Hooks come in various sizes and styles, each suited for specific patterns and target species. Familiarize yourself with different hook sizes and styles to choose the right one for your intended fly pattern.
Identifying the Different Types of Feathers
Feathers play a vital role in creating lifelike fly patterns. Learn to identify the different types of feathers, such as hackle feathers, wings feathers, and tailing feathers. Understand their characteristics and how they can be used in different patterns.
Recognizing the Importance of Proportion and Balance
Proportion and balance are critical factors in constructing effective flies. Study the natural proportions of insects or baitfish and aim to replicate them in your patterns. Ensure that each component of the fly harmoniously complements the others.
Appreciating the Impact of Color and Texture
Color and texture are essential in creating realistic imitations. Study the colors and textures of different insects or baitfish and select materials that closely resemble them. Experiment with shading, blending, and layering to achieve the desired effect.
Practice Proper Fly Tying Techniques
Practicing proper techniques is vital for producing high-quality flies that are durable and effective. Here are some key techniques to focus on:
Maintaining Cleanliness and Organization
Keep your tying area clean and organized to work efficiently. Dispose of waste materials, keep tools and materials within reach, and develop a systematic workflow to avoid confusion and frustration.
Using Appropriate Tension and Thread Control
Proper tension and thread control are essential for creating secure and durable wraps. Practice maintaining consistent tension and work on smooth, controlled thread manipulation.
Trimming Excess Materials Neatly
Trim excess materials neatly to ensure that your flies are tidy and well-proportioned. Use sharp scissors to make clean cuts and remove any unwanted bulk.
Securing Materials Firmly with Proper Wraps
Ensure that all materials are securely attached to the hook by using proper wraps. Avoid loose wraps that can lead to materials coming loose during fishing.
Avoiding Excessive Use of Glue or Cement
While glue or cement can provide added durability, excessive use can make the fly heavy and less natural-looking. Use glue or cement sparingly and only when necessary.
Troubleshooting Common Tying Problems
Fly tying can present challenges and frustrations. Familiarize yourself with common tying problems, such as thread slippage, material twisting, or uneven wraps. Learn troubleshooting techniques to overcome these issues and improve your tying skills.
Join Fly Tying Communities
Engaging with fly tying communities can offer invaluable knowledge, support, and inspiration. Here are some ways to connect with fellow fly tiers:
Attending Local Fly Tying Classes or Workshops
Check out local fly shops or community centers for fly tying classes or workshops. These provide opportunities to learn from experienced tiers, interact with other enthusiasts, and share ideas and techniques.
Participating in Online Fly Tying Forums
Online forums and communities are excellent platforms for connecting with fly tiers from around the world. Participate in discussions, ask questions, and share your experiences and patterns.
Joining Fly Fishing Clubs or Associations
Consider joining local fly fishing clubs or associations where you can meet like-minded individuals and participate in group activities. Many clubs organize fly tying nights where members can share their expertise and patterns.
Connecting with Experienced Fly Tiers
Seek out experienced fly tiers in your area or online and connect with them. They can offer guidance, tips, and tricks that can significantly contribute to your growth as a fly tier.
Sharing Ideas, Tips, and Patterns with Fellow Enthusiasts
One of the joys of fly tying is sharing your creations with fellow enthusiasts. Share your patterns, techniques, and ideas with the community and be open to feedback and suggestions. Collaborating with others can lead to learning opportunities and further creative exploration.
Build a Tying Station
Having an organized and functional tying station is essential for an enjoyable and efficient tying experience. Here are some tips to create a well-equipped tying area:
Selecting a Suitable Workspace
Choose a dedicated area for your fly tying where you can work without interruptions. Ensure that the space is well-ventilated, comfortable, and has good lighting.
Investing in a Quality Tying Vise and Desk
A high-quality tying vise and desk are worth the investment. Look for a vise that provides stability, grips hooks securely, and offers adjustability. A sturdy and spacious desk will provide ample room for organizing tools and materials.
Organizing Tools and Materials for Easy Access
Keep your tools and materials organized and within reach. Utilize storage solutions such as bins, trays, or wall-mounted organizers to keep everything in order.
Creating a Well-Lit and Comfortable Environment
Good lighting is crucial for tying intricate patterns. Position your tying area near a natural light source or invest in a quality desk lamp. Ensure that the chair and work surface are ergonomically designed for comfort during long tying sessions.
Considering Storage Options for Materials
As your collection of materials grows, you’ll need a storage system that keeps them organized and protected. Consider storage solutions such as drawers, boxes, or cabinets that allow you to sort materials by type, size, or color.
Practice Patience and Perseverance
Fly tying is a skill that takes time and practice to develop. Here are some tips to maintain motivation and enjoyment throughout your journey:
Understanding That Fly Tying is a Skill That Takes Time to Develop
Be patient with yourself and understand that fly tying is a skill that requires time and practice to master. Embrace the learning process and avoid being discouraged by initial mistakes or imperfect flies.
Accepting That Mistakes and Frustrations Are Part of the Learning Process
Mistakes and frustrations are inevitable when learning any new skill. Embrace them as opportunities for growth and learning. Learn from your mistakes, seek guidance when needed, and persevere through challenges.
Committing to Regular Practice and Improvement
Consistency is key to improving your fly tying skills. Set aside regular time for practice and commit to honing your techniques. Embrace each tying session as an opportunity to refine your skills and learn something new.
Celebrating Small Successes and Milestones
Acknowledge and celebrate your progress and achievements, no matter how small. Whether it’s tying a neater whip finish knot or successfully imitating a specific insect species, each milestone is a step forward in your fly tying journey.
Embracing the Meditative and Rewarding Nature of Fly Tying
Fly tying can be a meditative and rewarding activity. Embrace the tranquility and focus it offers. Enjoy the creative process, take pride in the patterns you create, and savor the anticipation of using your flies on the water.
By following these comprehensive steps, you will be well on your way to becoming a skilled and creative fly tier. Explore different techniques, patterns, and materials, and most importantly, enjoy the journey of bringing life to your own custom flies. Happy tying!
